Install an Operating System
Create a VM instance and install the operating system by using the Windows Server 2008 R2 image you added in the previous step.
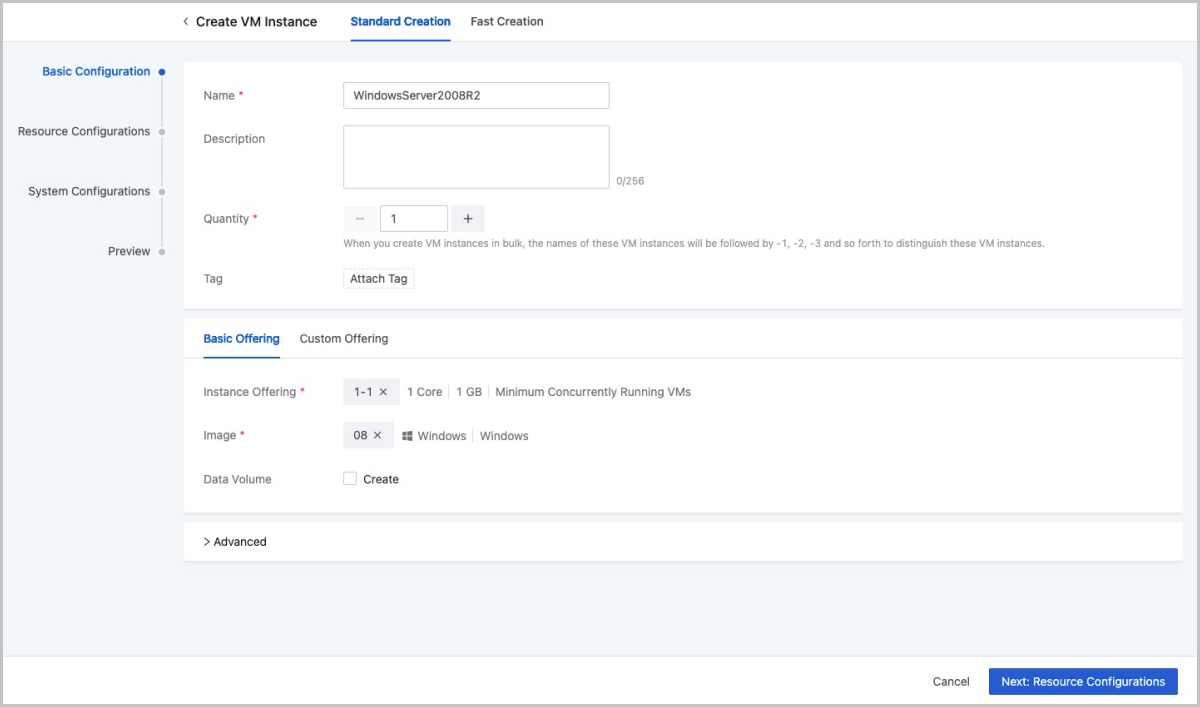
Create a VM Instance
- Complete the basic configurations.Set the following parameters:
- Name: Enter a name for the VM instance.
- Description: Optional. Enter a description for the VM instance.
- Quantity: Enter the number of VM instances to be created. You can create VM instances in bulk.
- Tag: Optional. Bind one or more tags to the VM instance.
- Set the VM offering by using one of the following methods:
- Basic Offering: Set the VM
offering by selecting an existing instance offering and
disk offering.
- Instance Offering: Select an existing instance offering.
- Image: Select an existing image.
- Data Volume: Optional. Choose whether to create a data volume and attach it to the VM instance. Here, you do not need to create a data volume.
- Custom Offering: Set the VM
offering by customizing the following VM
configurations:
- CPU: Set the number of CPU cores of the VM instance.
- Memory: Set the memory size of the VM instance.
- Image: Select an existing image.
- Data Volume: Optional. Choose whether to create a data volume and attach it to the VM instance. Here, you do not need to create a data volume.
- Basic Offering: Set the VM
offering by selecting an existing instance offering and
disk offering.
- Complete the resource configurations.Set the following parameters:
- Network Configurations: Select an L3
network used by the VM instance and complete the network
configurations.
- Network: Select an L3 network used by the VM instance. Supported network types: public network, flat network, and VPC network.
- Make Default: If you add multiple network configurations, set one of the networks as the default network.
- Enable SR-IOV: Optional. Choose whether to use SR-IOV to generate a VF NIC and pass it through to the VM instance.
- Assign IP: Optional. Choose whether to assign an IP address to the VM NIC.
- MAC Address: Optional. Choose whether to configure a MAC address for the VM instance.
- Security Group: Optional. Associate a security group with the VM instance.
- Cluster: Optional. Specify a cluster for the host on which the VM instance is to be started.
- Storage Allocation Policy: Specify how the Cloud allocates a primary storage.
- Host: Optional. Select the host on which the VM instance is to be started. If you specified a cluster, select a host from the cluster.
- vDrive: Optional. Add a virtual drive (vDrive) for the VM instance.
- GPU: Add a GPU device for the VM instance by specifying a GPU specification or device. The GPU device can be either a physical GPU (pGPU) or a virtual GPU (vGPU).
- CPU Pinning: Specify the association between the pCPU of the host and the vCPU of the VM instance. Then, the Cloud allocates a pCPU to the VM instance accordingly. This helps to improve the VM performance.
- Network Configurations: Select an L3
network used by the VM instance and complete the network
configurations.
- Complete the system configurations.Set the following parameters:
- SSH Login Mode: Optional. Set the SSH login mode.
- Hostname: Set a hostname for the VM instance.
- User Data: Optional. Inject user-defined parameters or scripts to customize configurations for the VM instance or to accomplish specific tasks.
- Console Password: Set a console password for the VM instance.
- Console Mode: Set the console mode. Options: VNC, SPICE, and VNC+SPICE. Default: VNC.
- Confirm the information.
View the information about the VM instance. You can edit the information by clicking the Edit icon.
On the Preview page, click OK. Then, the Windows Server 2008 VM instance is created. The operating system will automatically enter the BIOS mode.
Install the Operating System
On the VM Instance page, select the VM instance you created before, and launch the VM console. Then, the installation page appears.
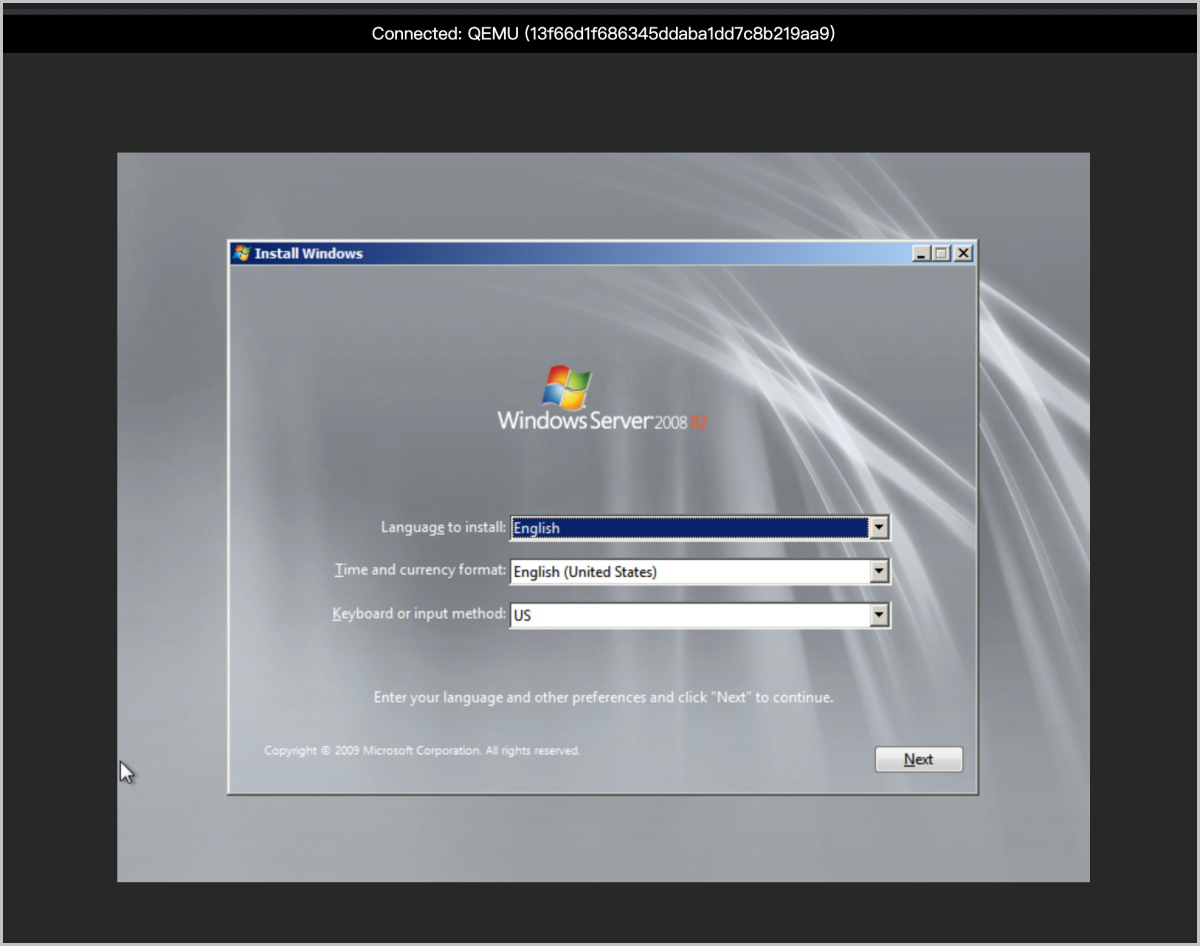
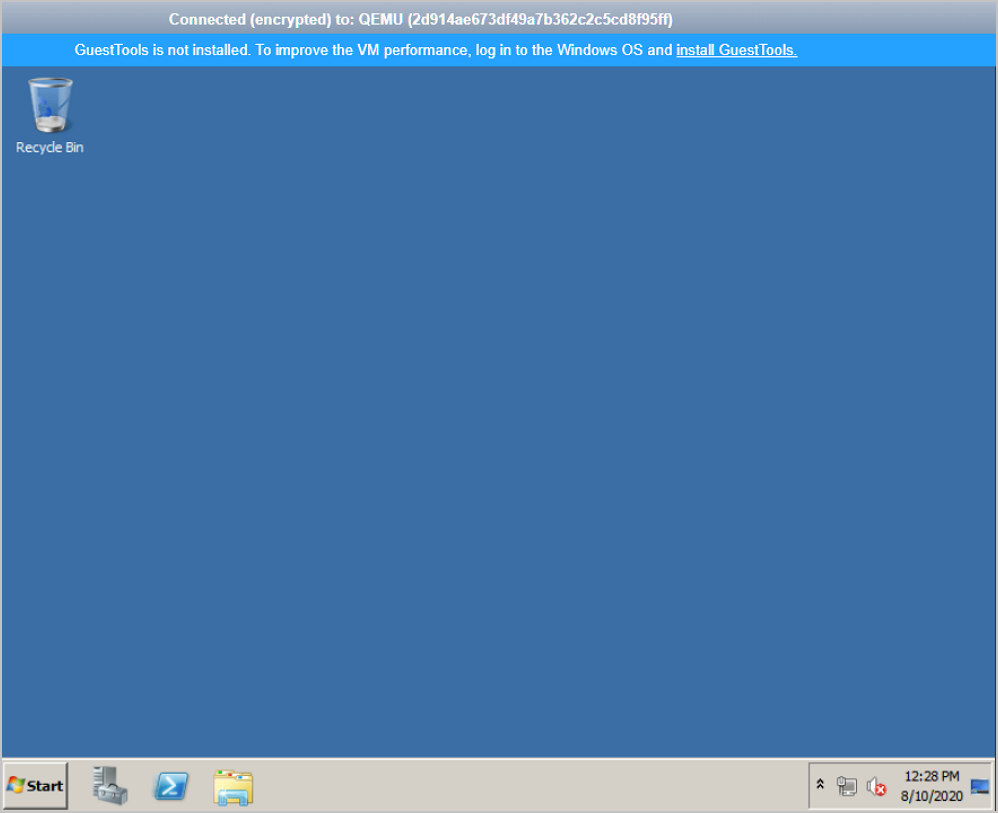
Complete the configurations by referencing to the common installation process of Windows Server 2008 R2. During the installation, the operating system will be automatically rebooted, due to which the console might be disconnected. In that case, launch the console again. After you complete installing the operating system, set the admin password and log in to the operating system. So far, the Windows operating system is installed.
Prevent Disk from Being Offline
C:\Users\Administrator> diskpart  ::Enter diskpart.
DISKPART> san   ::View the SAN policy.
DISKPART> san policy=onlineall   ::Change the SAN policy by using diskpart.
DISKPART> exit