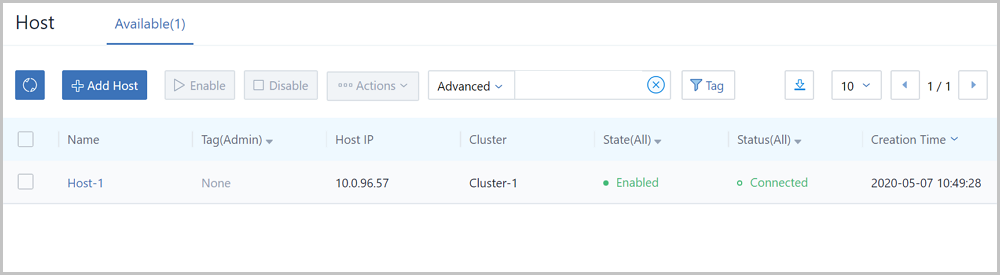
On the Host management page, check information about all the hosts
that are running in the current zone, including host names, tags, host IP addresses,
clusters, states, and statuses.
On the Host management page, you can perform the following
operations:
Search: Click the Search icon. Then, you can search for a
host by entering its name, UUID, or IP address. You can also use the advanced
search method, which is the same as calling the QueryHost API. For more
information, see the CLI command manual.
When you use the advanced search, note the
following:
A search syntax includes three parts: a parameter, query
condition, and value. For more information about the search
syntax, see the Query API section in API Reference.
Cross-table queries are supported. Parameters of a search syntax
must be separated by a period (.).
A combination query with multiple conditions is supported.
Multiple search syntaxes must be separated by a space.
The following are some advanced search examples:
Search by hypervisor type: hypervisorType=KVM
Search by host state or status: state=Enabled or
status=Connected
Search by cluster UUID:
cluster.uuid!=b7c14dc077f244c6825139e2afd2e82d
Search by VM UUID:
vmInstance.uuid=1b6d1e95e37547d19654b4e09653381e
Search by primary storage UUID:
cluster.primaryStorage.uuid=d4c96e17010f4461a5112c19da85410d
Export CSV: Click the Export CSV icon at the upper right.
Then, you can export a list of hosts on the current page or on all related
pages.
Row count: Click the Row Count drop-down arrow. Then, you
can select the number of hosts that can be displayed on each page.
Tag: Create a tag for resources in a custom manner. With resource tags, you can
quickly filter the required resources via tag types and tag names.
Filter resource: Click the Tag button. Then, a
tag list is displayed. After you select one or more tags in the tag
list, resources that bind the tags will be automatically filtered.
Display tag: Click the Tag button. Then, a tag
list is displayed. If you have too many tags, find the required tags by
dragging the scroll bar.
Note:
A tag list is displayed according to different tag roles
(admin or tenant). You can switch roles by clicking the
Tag drop-down arrow.
Resource tags can be sorted in order according to the
creation time or tag names (priority: characters > numbers >
Chinese characters > English characters). To change the sort
order, go to Settings > Global Settings > Advanced, locate Tag sorting field, and click
the Edit icon. By default, the tags are sorted in order by
tag name.
Search tag: In the search box at the top of the tag list, enter either a
tag name or a keyword to search for the tag that you want. This
operation applies to the scenario with too many tags. We recommend that
you use the scroll bar when tags are fewer.
Create tag: In the lower left corner of the displayed tag list, click
Create Tag. Then, you can create tags as
needed. For more information about tag creation and notices, see Tag.
Tag management: In the lower right corner of the displayed tag list,
click Tag Management. Then, the
Tag page is displayed. This page displays a
list of tags. On this page, you can create a tag, delete a tag, or
unbind a tag from a resource. For more information, see Tag.
 Note: Hosts can only bind admin tags.